
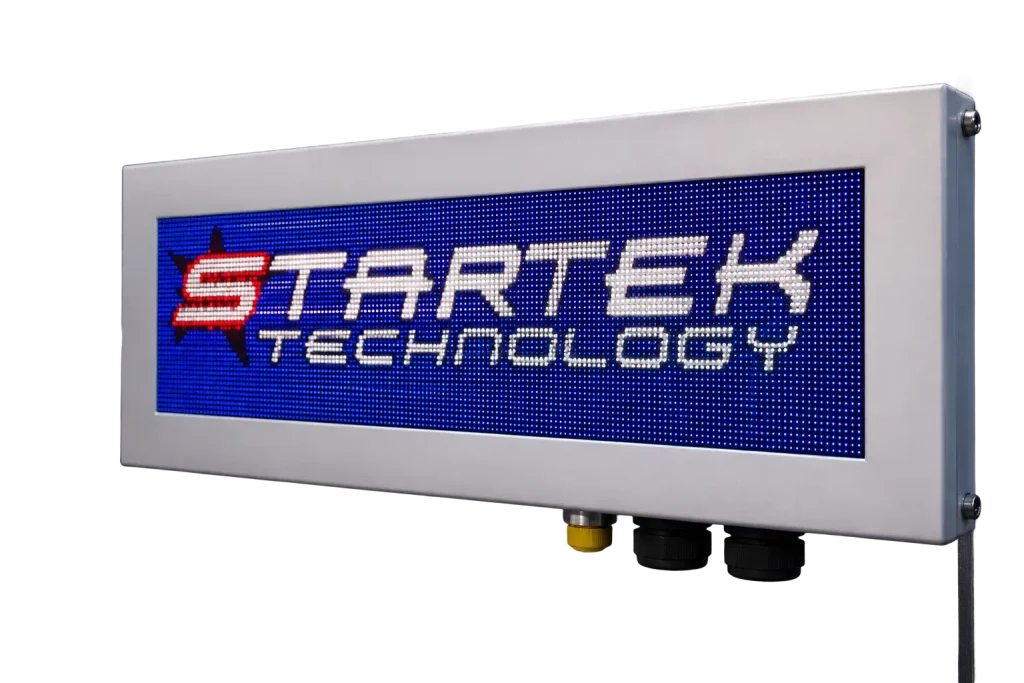
A weighbridge display has one core job: give a driver or operator clear information at the right point in the transaction. Choosing one requires more than checking the digit size. Viewing distance, daylight, mounting position, enclosure protection and the connection to the weighing indicator all affect the result.
This guide covers the questions to answer before selecting an industrial LED display for a new weighbridge or an upgrade. It also explains where a remote weight display fits within a wider automated site.
Define the viewing task first
Start with the person who needs the information. A driver approaching the platform has a different viewing angle from an operator inside a control room. Record the expected reading distance, vehicle position, mounting height and any structures that could block the line of sight.
Decide what the display must show. Some sites need a live weight value. Others also need short instructions or status messages that guide the driver through the process. That choice affects the display format, the information sent by the controller and the amount of space needed for readable characters.
- Reader: driver, operator, loader operator or site staff.
- Position: approach lane, weighbridge deck, exit point or control room.
- Content: weight only, transaction status or driver instructions.
- Decision: the action the reader should take after seeing the message.
Check visibility in real site conditions
Outdoor weighbridge LED displays must remain legible through changing light and weather. Review the location in direct sun and shade, then check the likely viewing angle from the cab. A bright panel can still be hard to read if the display faces the wrong direction or sits behind a canopy, post or raised vehicle component.
Startek describes the STM42 industrial LED display as a high-brightness, sunlight-readable unit for commercial and industrial environments. Its published display specification is a 32 by 128 RGB LED matrix with a 128 mm digit height. Those details provide a starting point, but the project team should confirm suitability against the actual distance and mounting position at the site.
Match the enclosure, power and mounting
The display location determines the protection and installation work required. Document exposure to rain, dust, washdown, heat and vehicle movement. Allow for safe cable routes, access for maintenance and a rigid mounting point that keeps the face aligned with the intended reader.
The STM42 page lists an IP65 environment rating, AC and DC models, a 110-240 VAC supply option and an 18-72 VDC option. It also lists typical power consumption of 30 W. Treat these as product specifications to check against the site electrical design, isolation requirements and available supply. The installer should confirm the selected model before finalising wiring or protection.
Confirm the indicator and controller interface
A remote weight display needs a compatible data source. Record the exact weighing indicator model, available ports and message format before ordering equipment. The same connector type does not guarantee that two devices use the same data structure or communication settings.
Published STM42 communications options include RS232, RS485, Ethernet, Wi-Fi and TCP/IP connectivity. Startek also lists support for more than 25 protocols, including Ranger A, B, C and D. The project team still needs to match the selected interface and protocol to the indicator or controller installed at the weighbridge.
- Physical connection: port, connector, cable type and distance.
- Communication settings: protocol, address, speed and message format.
- Data ownership: indicator or controller as the source of the displayed value.
- Fault response: the message or blank state shown when data becomes invalid or unavailable.
Plan the display messages with the workflow
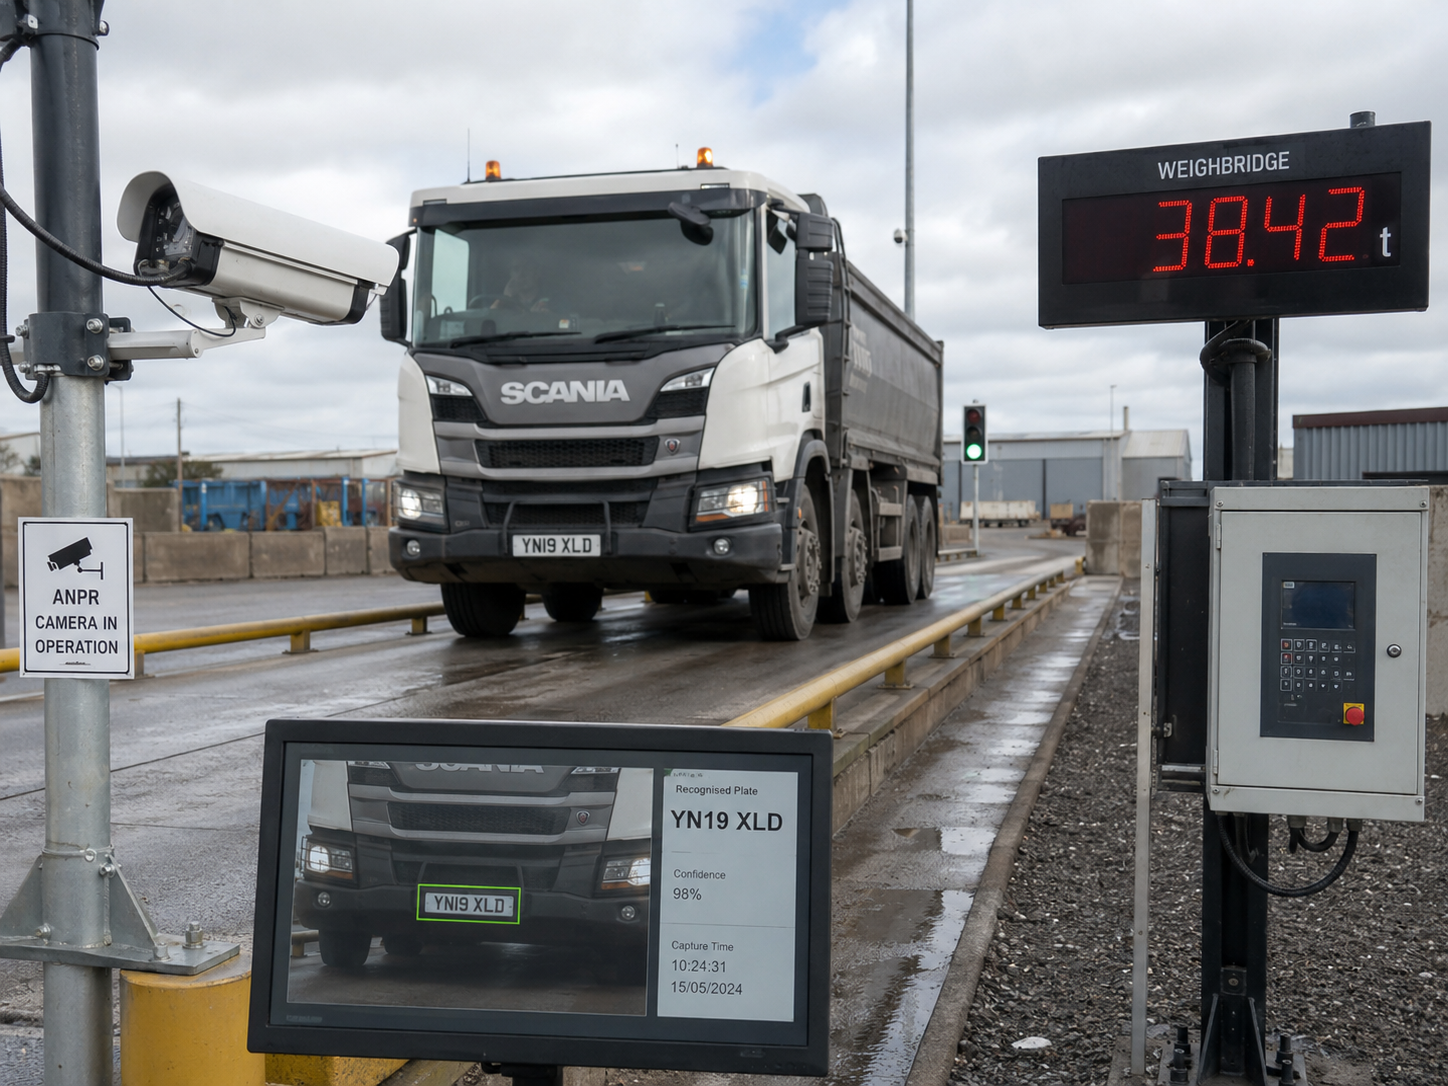
The display should follow the same transaction state as the rest of the site. A controller may need to distinguish a changing weight from an accepted reading, then tell the driver when to proceed. Define those states before configuration so the display, kiosk, traffic lights and access equipment give consistent instructions.
Startek’s weighbridge automation capability covers integrated weighbridges, kiosks, cameras, sensors and site workflows. The display selection should form part of that system design. A compatible panel can show the wrong information if the controller logic, transaction state or exception handling remains unclear.
Use a practical selection checklist
Collect the following details before comparing weighbridge LED displays:
- The information the driver or operator must read.
- The viewing distance, angle and mounting height.
- Sunlight, weather and site exposure at the proposed location.
- The weighing indicator or controller model and available interface.
- The required protocol and behaviour when communications fail.
- The available AC or DC supply and cable route.
- The other equipment that must follow the same transaction state.
A short site survey and interface audit can resolve most of these points. Startek can review the display location, indicator connection and wider weighbridge workflow. Share the equipment models, site photographs and required messages through the contact page.