
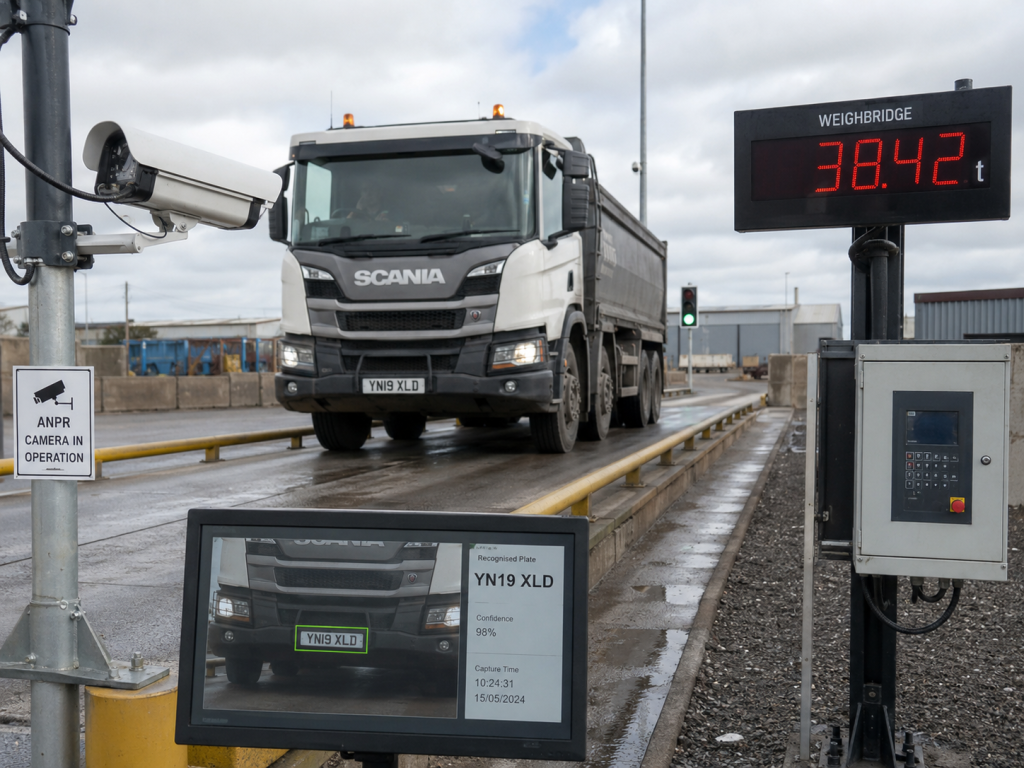
Weighbridge sensors, indicators and controllers each handle a different part of the weighing process. A reliable integration starts with a clear map of those roles, the data exchanged between devices and the site action that follows each signal.
Startek’s published weighbridge automation capability connects weighbridges, kiosks, cameras, sensors and site workflows. Its embedded systems work also covers sensors, weighing indicators, controllers and software connectivity. The practical integration task is to make those separate devices behave as one controlled system.
The role of weighbridge sensors
The weighing platform relies on load-sensing equipment to detect the applied load. The weighing indicator receives that measurement and turns it into weight information that an operator, kiosk or software system can use. Other site sensors may detect vehicle presence or support identification and monitoring around the lane.
Those signals answer different questions. Weight data tells the system what the platform is measuring. A presence or position input can tell the controller whether the vehicle has reached a required point. Cameras or identification devices can associate the transaction with a vehicle or account. The project team should document each signal instead of treating every field device as a generic sensor.
Where the weighing indicator fits
The indicator sits between the weighing hardware and the wider control system. For indicator integration, the project needs to establish which data the indicator can provide, how another device can request or receive it, and how the system identifies a valid reading.
Startek’s kiosk page confirms compatibility with major weighing indicators and positions indicator integration as part of the self-service workflow. That compatibility still needs to be checked against the exact model and configuration at the site. Two indicators from the same manufacturer may expose different ports, settings or message formats.
- Model and firmware: record the exact indicator version before design work starts.
- Available connection: confirm the physical interface, wiring and connector arrangement.
- Data format: document the fields, delimiters and update behaviour that the receiving system must interpret.
- Transaction state: decide how the workflow recognises a usable reading and handles a missing or changing value.
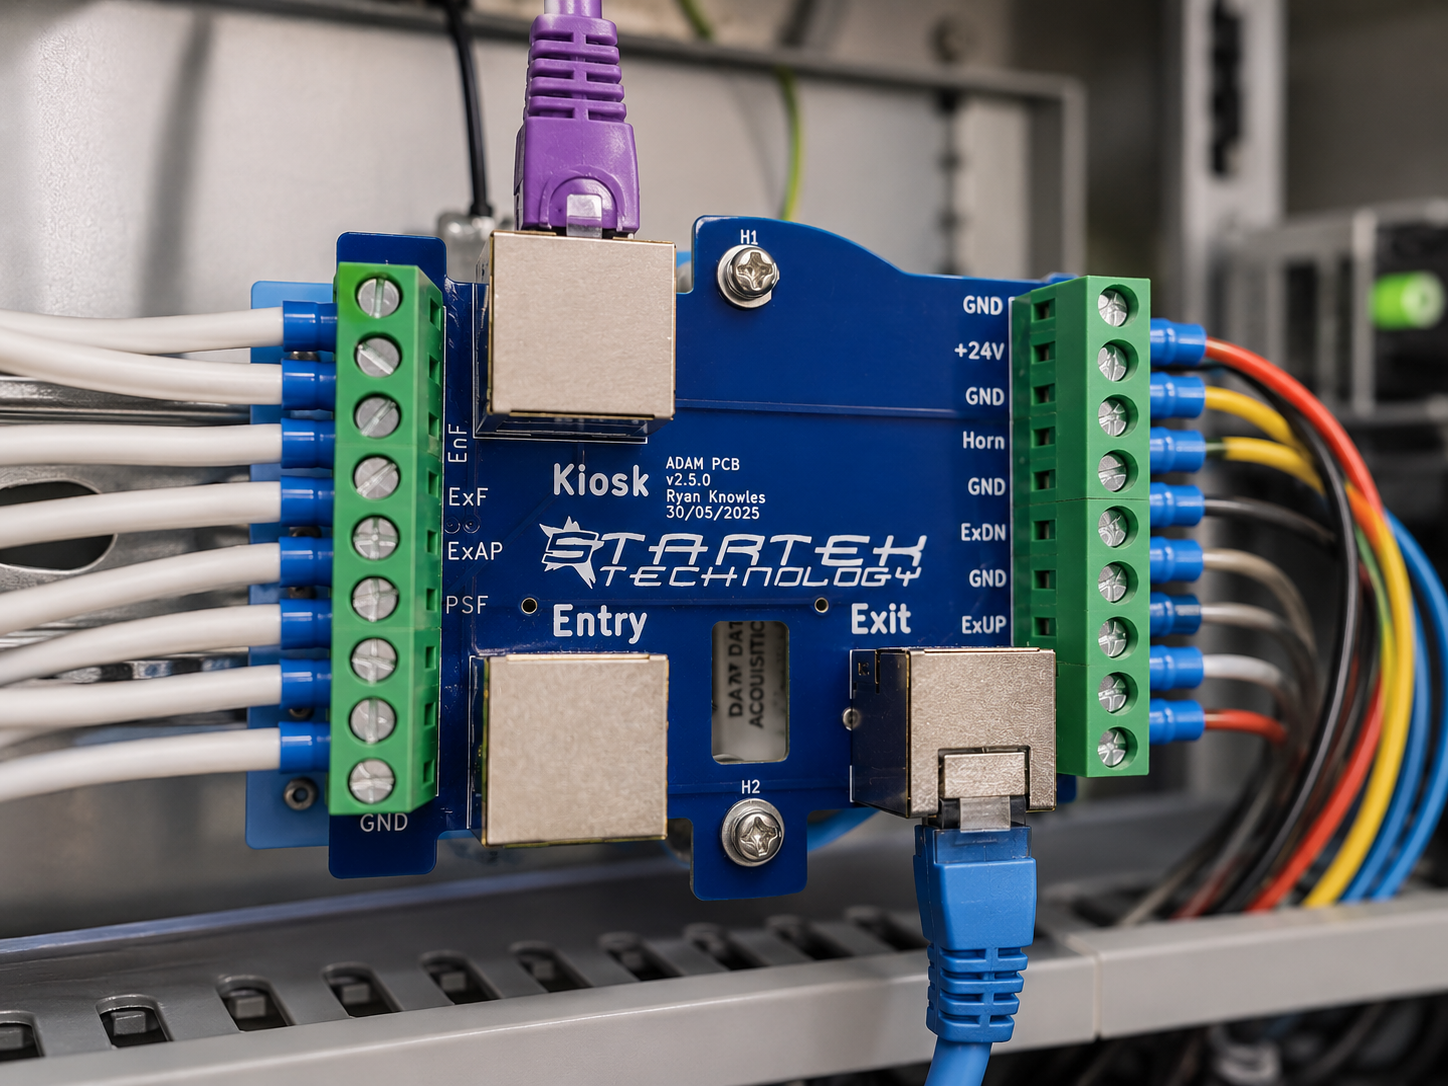
What a weighbridge controller coordinates
A weighbridge controller coordinates the sequence around the weight reading. Depending on the site, that sequence may include a kiosk prompt, vehicle identification, a traffic light, a boom gate, a payment step or a transaction record. The controller applies the operating rules and sends commands to the connected equipment at the right stage.
The controller should also keep device status separate from transaction status. A connected indicator does not mean the vehicle is ready to weigh. A valid account does not mean the lane is clear. A completed payment does not confirm that the exit equipment has responded. Clear states make faults easier to trace and prevent one successful input from advancing the entire process by mistake.
Interfaces to confirm before integration
Each interface has a physical side and a software side. The physical review covers ports, cables, power, enclosure location and the distance between devices. The software review covers message formats, timing, acknowledgements and the rules applied when a device stops responding.
Startek’s published embedded systems process starts with equipment, site conditions and integration requirements, followed by design, build, configuration and testing. That sequence suits weighbridge systems because the controller, indicator and site equipment often come from different suppliers or generations.
- Inputs: list every weight, presence, identification and status signal the workflow needs.
- Outputs: list every light, gate, display, kiosk or other device the controller must operate.
- Ownership: identify which system creates the transaction record and which device holds the authoritative state.
- Fault response: define the operator message and safe operating response for a disconnected or invalid device.
- Support access: document the diagnostics available to on-site staff and the information needed for remote support.
A practical commissioning sequence
Commissioning works best when the team proves each connection before testing the complete transaction. Start by checking the indicator data and individual inputs. Confirm each output under controlled conditions. Then run the controller through the normal workflow and the main exception paths.
Tests should cover an interrupted connection, an invalid reading and a device that fails to acknowledge a command. The team should also confirm that the final transaction record matches the physical event at the weighbridge. This staged approach gives technicians a smaller area to investigate when a test fails.
Planning an upgrade to an existing weighbridge
An upgrade may retain a serviceable weighing platform and indicator while adding a controller, kiosk, communications or site equipment around them. The first step is an interface audit: exact models, available connections, current workflow, required records and the equipment that must respond to each stage.
Startek brings software, embedded systems and weighbridge automation into the same integration discussion. If you are reviewing a new installation or an upgrade, share the indicator model, existing field devices and required transaction flow with the Startek team through the contact page.